Categories:
In any modern kitchen, an island or peninsula adds a convenient workspace, dining area, and storage within arm’s reach. They’ve become a staple of American kitchen design and can add serious value to your home—kitchens are often cited as the most important room by homebuyers looking to purchase, so having one that’s been well-planned is key. RTA cabinets make the process easier and more cost-effective than ever before.
When it comes to creating custom islands with RTA cabinets, the first consideration is measurement. The National Kitchen & Bath Association (NKBA) recommends a work aisle of at least 42” for kitchens with one cook and 48” with multiple cooks. While the NKBA doesn’t mention this explicitly, young children or pets should be considered in this equation too—while they may not be helping cook, having a little more wiggle room makes them less likely to be underfoot. In other words, you want to leave a gap of roughly four feet in between your kitchen cabinets and your island. That should be the starting point for the overall size available to you.
The next, and arguably most crucial, factor in island sizing and placement comes down to what’s known as the “Work Triangle.” This means that the three main work centers in a kitchen—the fridge, stove, and sink—should form the corners of a triangle where the sides are not obstructed. That’ll allow you to move from one to the other quickly and efficiently without having to change direction. This philosophy can change depending on how exactly you use your kitchen. Bakers may want to include the oven as a crucial work center, and mild slobs like myself benefit from having easy access to the dishwasher. When deciding the placement of your island, it may be worth thinking through (or even using masking tape on the floor) to determine where your work triangle is and to make sure your island doesn’t break its flow.
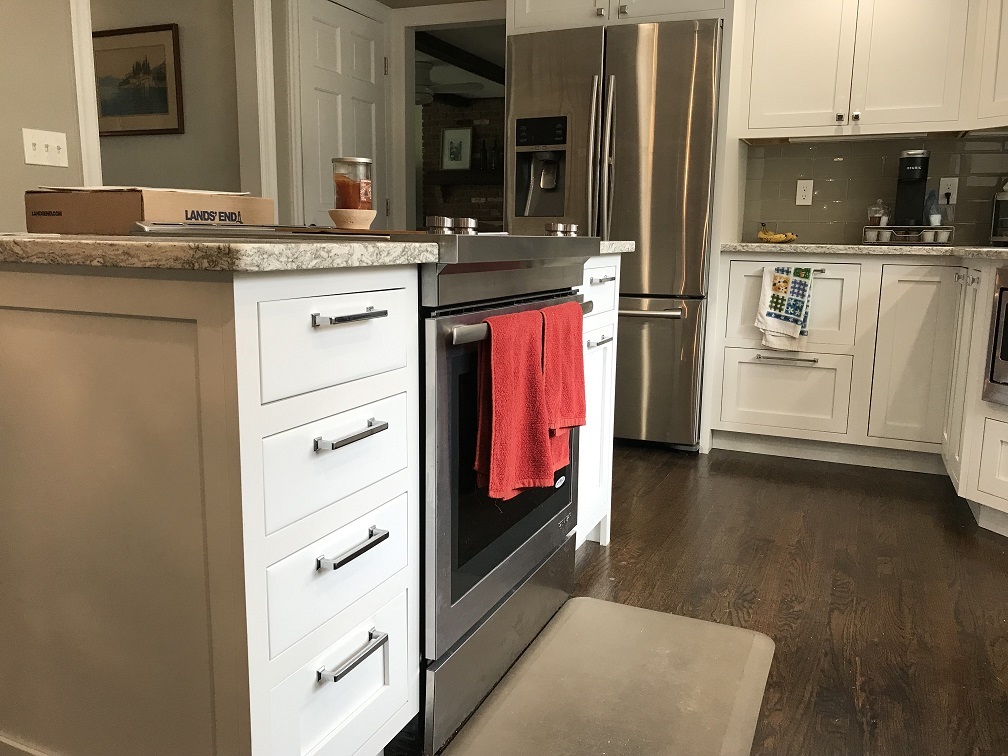
Once you’ve figured out the overall dimensions of your kitchen island, you’ll want to decide how you want to break it into cabinets. An island can be as simple as one large cabinet, or as complex as two back-to-back banks of base cabinets—you’re only limited by your space and your imagination. Knowing where you want drawers, doors, and appliances to be located is usually the best place to start. Depending on your storage needs, it may be preferable to have two sets of relatively shallow cabinets back-to-back to compartmentalize your storage and make it accessible from all angles, or to stick with a single deeper cabinet. Double-entry cabinets are also a good option—they’re framed on both the front and back and can be accessed in their entirety from both sides.
The final finishing touch on your kitchen island will be finished custom panels. No matter your design, there will almost always be a section of exposed cabinet that needs to be hidden seamlessly. The most elegant way to do so is with custom false doors, also known as multi-panel false doors, wainscot panels, or island backer doors. Using the same detailing and design as the doors on your cabinets, we can create large panels that match the finish and design of your kitchen while adding visual interest. For a more modern and cost-effective option, finished ¾” plywood is also available. With both options, you’ll want to consider which side(s) of your island are exposed. Note that if you have panels that overlap in a corner, you’ll want to take the ¾” thickness into account.
With the benefit of fully customizable RTA cabinets, designing a kitchen island is more accessible than ever to the average homeowner. With the Cabinet Authority’s expertise and help, you’ll be able to create the island of your dreams without breaking the bank.


